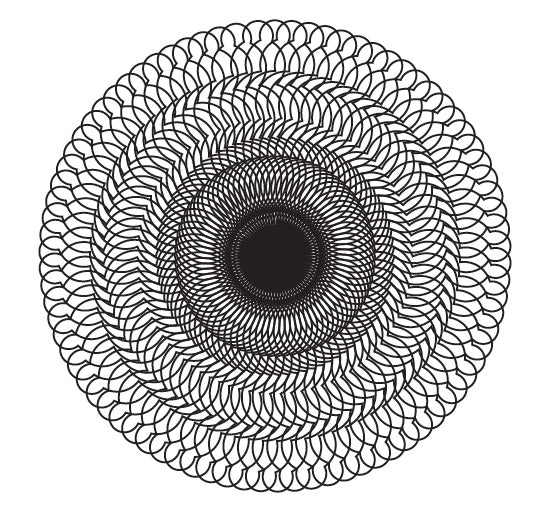
Circles are an endless source of fun in design. You can use them to make simple patterns, you can use them in your logo designs or on your business cards as well as so much more. All it takes is a little experimentation and you will see that the possibilities are endless. Today, I am going to show you just how easy it is to create these interesting circular designs. I am going to show you how to make simple circular shapes with the rotate tool and then, how you can take your simple circular designs one step further by adding gradients and transparency.
Step 1: Creating a simple circular design
Using the pen tool, create a simple line drawing on your stage. If you find that the pen tool is a little complicated, you can just draw a line with two end points. If you want to try something a little more interesting, you can draw an 'S' shape on the stage.

With your line selected, select the rotate tool from your toolbox to the left of the stage. A target-like object will now appear on the stage. You need to drag this target-like object to the base of the line. This is your center point from where your line will rotate. It might seem a little complicated so here is a picture to help guide you:

Now, holding down the Option/Alt key (this will create a copy of your line as you rotate it), rotate a copy of your line and position it so that it is a few degrees to the right of your first line. It should now look like this:

The Command + D key duplicates the last move that you did in Illustrator. If you now press the Command+D keys over and over, in no time, you will have created a circular design on your stage. Below is what it should look like. Wasn't that easy?

Step 2: Creating a more complex circular design
Now that you are comfortable with the rotate tool, I want to show you how you can create a more complex and interesting circular design. First, create a series of intertwining circles on the stage that have only a black stroke (no fill).

Now select all of those circles and combine them using the Pathfinder palette. To do this, go to Window -> Pathfinder and open the Pathfinder palette. Click on the “Add to Shape Area Button” and then the “Expand” button. You will get something like this:

Select your new shape, choose the rotate tool from your toolbox and again holding down the Option/Alt key, rotate a copy of your shape slightly to the right. Press the Command+D keys over and over until you have created your new circular design. It should look something like this:

Step 3: Experimenting with different shapes, gradients and transparency.
It is now up to you and your creativity to create as many different circular designs as you want. By using different shapes, adding gradients or even changing the transparency of your design, you can get dozens of diverse circular designs. Let me show you one example.
This time, I used the polygon tool to create my basic shape.

Combine and expand the objects into one using the Pathfinder Palette like I did in the previous two examples. Remove the stroke and add a gradient fill.

Now, use the rotate tool (holding down the Option/Alt key) and the Command+D option to create your new circular design.

You don't need to stop there. Experiment. Select your circular design and group it together (Command+G). This allows you to manipulate your circular design all at once. With your circular design still selected, copy it (Command+C) and paste this copy on top of the first circular design (Command+F). With this second circular design still selected, use your arrows to shrink it down in size. You can do this over and over until you have a flower design that you are happy with.

Finally, select your entire circular/flower design and go to Window -> Transparency and decrease it's transparency to 70% et voila.

Like I said, the possibilities are endless. Have fun with the tools in Illustrator and see what interesting designs you can come up with.
This tutorial has been brought to you by Pixellogo.com